In short: WooCommerce can’t sell several products as one bundle by itself. Install the free Nanflows Bundles plugin, press Create Bundle, choose a fixed bundle or “frequently bought together”, add the products, pick the pages it shows on and set the price. Stock comes off the products inside, and checkout stays the normal WooCommerce checkout.
WooCommerce can link products as upsells and cross-sells, but it can’t sell three products as one item at one price. For that you need a plugin.
We make one, Nanflows Bundles, and the free version is on WordPress.org. This guide sets up a first bundle with it from start to finish, and points out the few choices that actually matter.
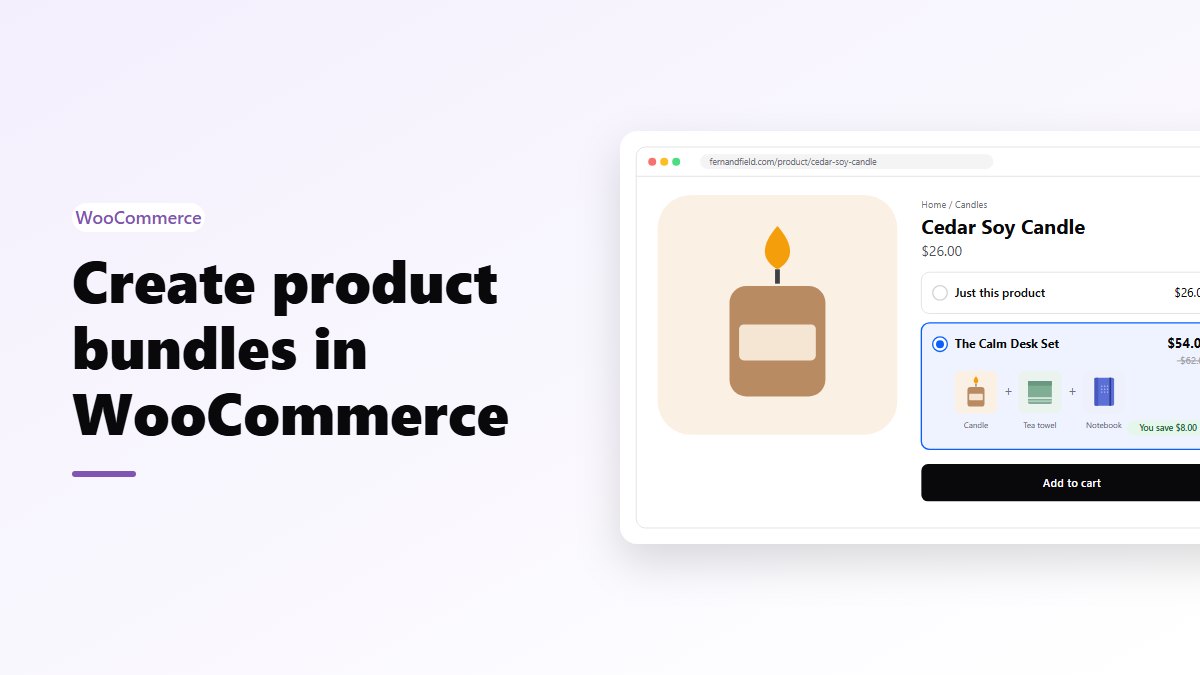
By the end you’ll have a bundle on a product page, with a choice between “Just this product” and the bundle, one Add to cart button, the saving shown, and stock taken from the real products when someone buys.
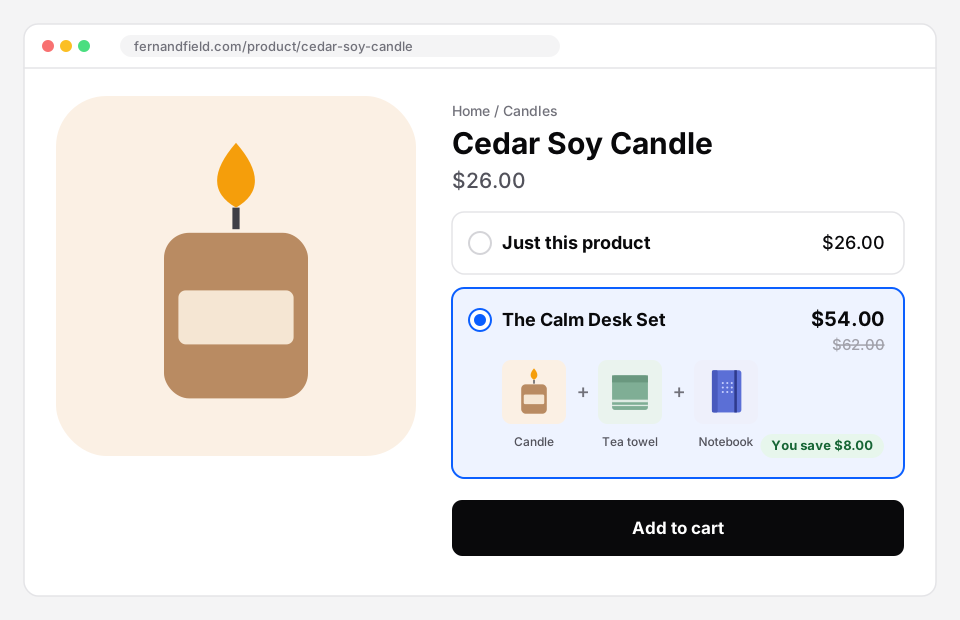 Where we’re heading: the candle’s page offers the candle alone or the whole desk set. Sample store.
Before you start
- WooCommerce is installed and active.
- WordPress 6.4 or newer, and PHP 7.4 or newer.
- The products you want to bundle already exist as normal products. A bundle is built from them; you don’t recreate anything.
Step 1: install the plugin
In WordPress, go to Plugins → Add New, search for Nanflows Bundles, then install and activate it.
Open Bundles in the admin menu. A short setup wizard asks how bundles should appear on your product pages. Don’t overthink it: everything it asks can be changed later in Bundles → Settings.
Step 2: choose the type
Press Create Bundle. It asks for a name, a type and the products.
The free plugin has two types:
- Fixed bundle: the products and quantities you choose, at one price.
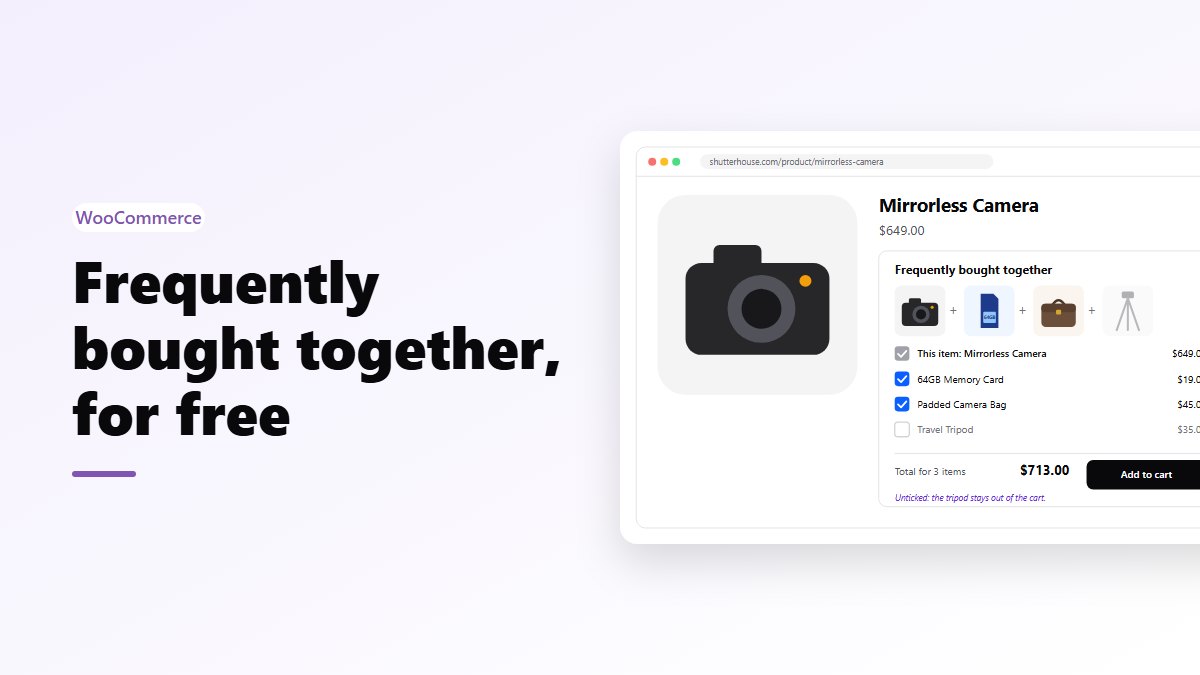
- Frequently bought together: a main product plus up to 4 extras that the shopper can untick.
A quick way to decide: if you’d call it “the kit”, it’s a fixed bundle. If you’d say it “goes well with”, it’s frequently bought together. There’s a whole post on frequently bought together if that’s the one you want.
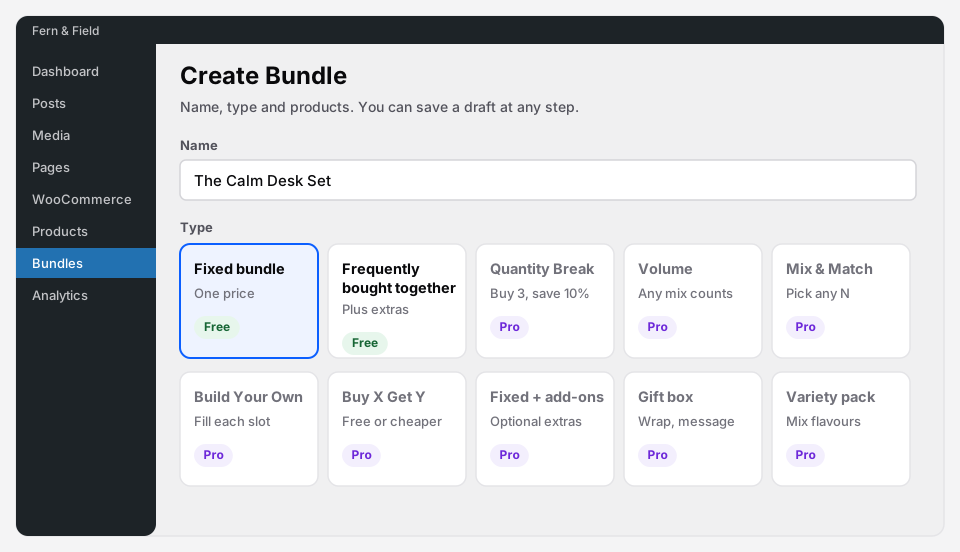 Create Bundle: the two free types, with the Pro types listed as upgrades.
Step 3: add the products
Add the products and set a quantity for each, for example 2 × socks. Drag them up or down to change the order shoppers see.
For a variable product, you can either fix the variation (always the black one) or let the shopper choose the size or colour.
Virtual and downloadable products work too, and customers get their downloads as usual. Products from WooCommerce Subscriptions are refused, with a message saying why: their renewals wouldn’t be billed correctly inside a bundle.
Step 4: decide where it shows
You pick product pages, or whole categories. A category includes the categories under it, and products you add to it later.
This catches people out: being inside a bundle doesn’t put the bundle on that product’s page. If you want the candle-and-towel bundle on the candle’s page, pick the candle’s page.
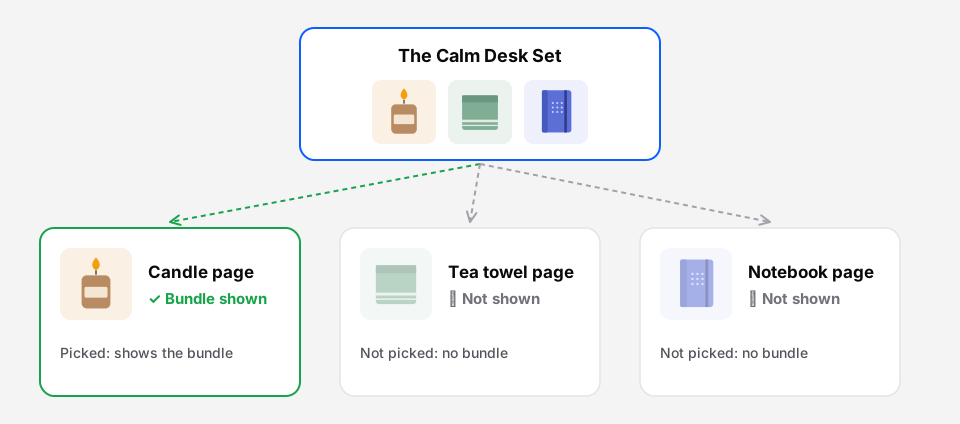 Only the pages you pick show the bundle. The tea towel is in the set, but its page doesn’t offer it.
By default, a bundle isn’t listed in your shop, categories or search, and its own page link sends shoppers to the product page that offers it. If you’d rather list bundles like normal products, choose “Also as its own product in the shop” in Bundles → Settings → General.
To show a bundle anywhere else, such as a landing page or a blog post, use the Bundle block, or the shortcode [nanflows_bundle id="123"] with your bundle’s ID.
Step 5: set the price
In the free plugin you either set a fixed price for the bundle, or sell it at the products’ own total with no discount.
The editor works out the regular price and the saving for you. To pick a number, add up the products and take off enough to be noticed. Say a candle is $26, a tea towel $12 and a notebook $24: that’s $62. At $59 nobody notices. At $54 it reads as “save $8”, and that’s an offer.
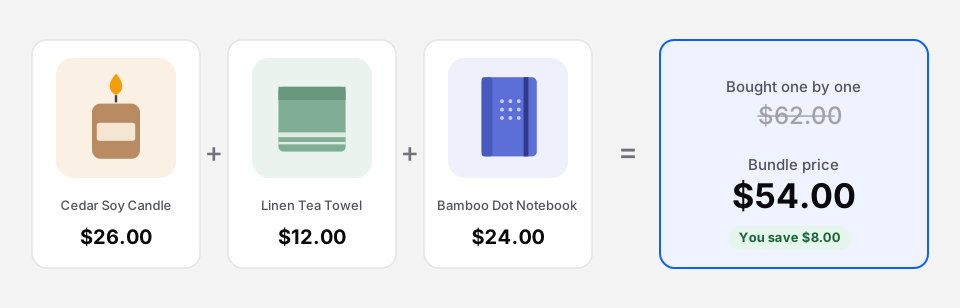 A saving shoppers notice: $62 bought one by one, $54 as a set.
Percentage off and amount off are in Pro.
Step 6: payment
For each bundle, choose cash on delivery, prepaid only, or both. The plugin checks that the payment method is actually switched on in WooCommerce before the bundle goes live, so you don’t end up with a bundle nobody can pay for.
If a cart holds bundles with different rules, only the methods all of them allow are offered. More on this in WooCommerce bundles and cash on delivery.
Step 7: picture, text, publish
You don’t have to make a bundle image. Until you choose one, the plugin makes a picture from up to four of the products’ pictures, and remakes it when those change. To use your own, pick it on the Name & text step.
You can press Save as draft at any point. Drafts are never shown to shoppers, and every check runs when you publish.
What shoppers see
On the product page, shoppers choose Just this product or the bundle with a radio button, and one Add to cart button adds what they chose. A page with one bundle opens it straight away.
A page shows one bundle by default. You can raise that to three in Settings, and drag bundles in the Bundles list to set their order.
In the cart, the bundle shows with its products listed under it, and those products can’t be removed on their own.
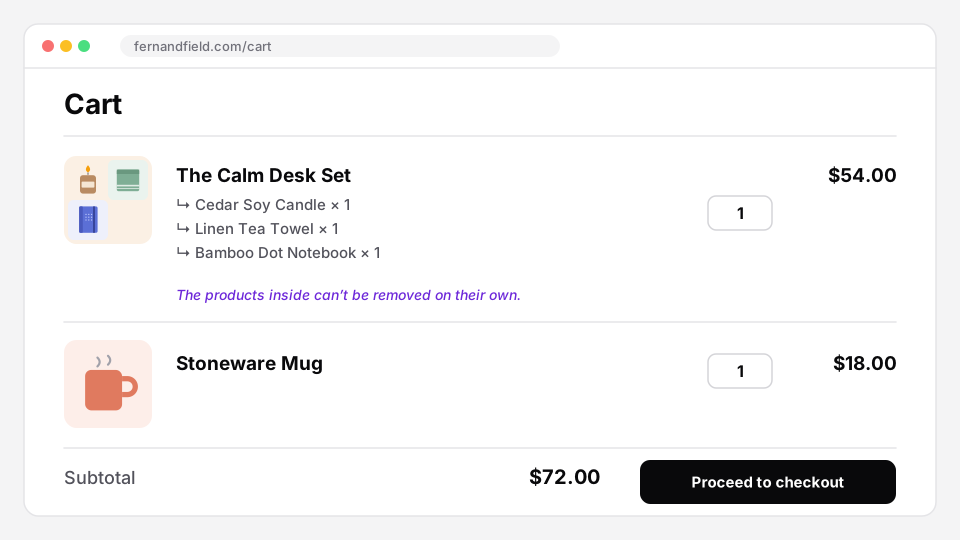 In the cart, the bundle is one line with its products under it.
After the first sale
Stock comes off each product inside when the order is paid, and goes back on a cancellation or a restocking refund, handled by WooCommerce itself. More in how bundle stock works.
The Analytics screen shows bundle orders, revenue, units, average bundle value and prepaid vs COD, by day. It’s stored in your own database, and the plugin sends nothing outside your site.
Three easy mistakes
- A bundle on pages where it makes no sense. A bundle should answer “what else will I need?” for the product it sits on.
- Too many bundles on one page. One good offer beats three. That’s why the default is one.
- A discount nobody notices. If the saving is under a few dollars on a big order, it isn’t doing anything.
When you’ll want more
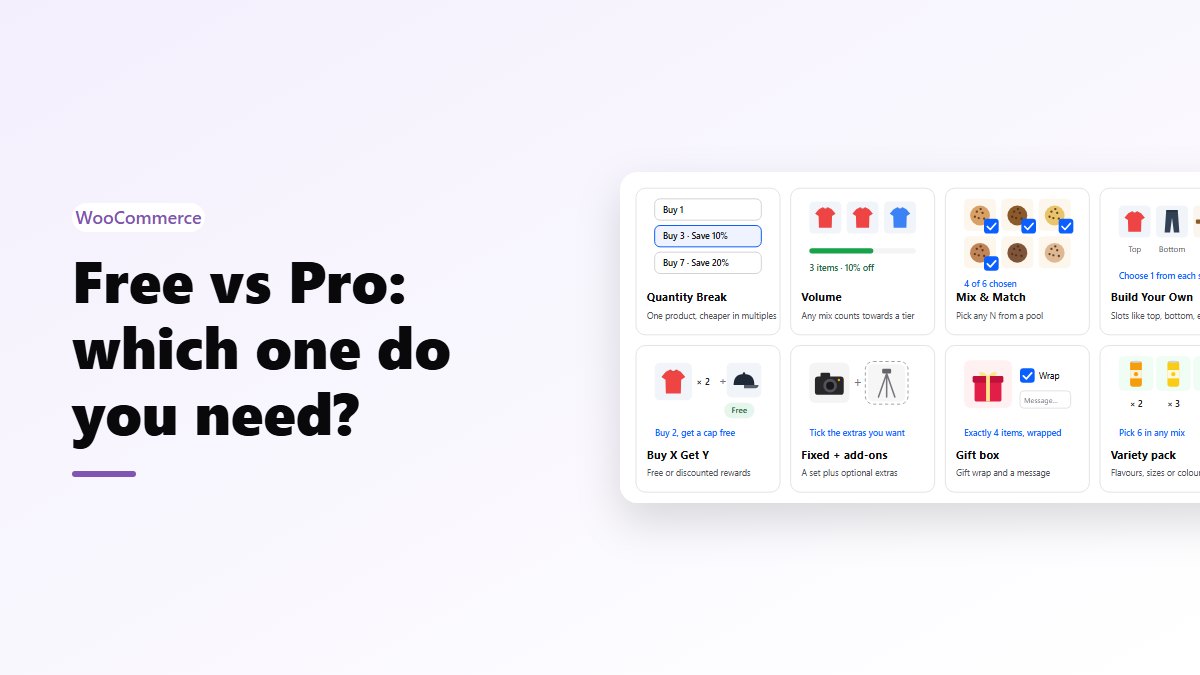
The free plugin stays free, with no bundle limit. If you need quantity breaks, mix & match, gift boxes or BOGO, see Free vs Pro for what Pro adds and what it costs.
Get the plugin
- Nanflows Bundles is free on WordPress.org, with unlimited fixed bundles and frequently bought together.
- Nanflows Bundles Pro adds quantity breaks, mix & match, build your own, BOGO, gift boxes and variety packs. $39 a year for one site, or $149 for up to five, and a first purchase can be refunded within 14 days.
- More on WooCommerce product bundles, and how we compare with other WooCommerce bundle plugins.
FAQ
Is the free version limited?
No. Fixed bundles and frequently bought together are unlimited.
Will it slow my shop down?
Its CSS and JavaScript load only on pages that show a bundle, the cart and the checkout. Reports read summary tables, not every order.
Does it work with the block checkout and HPOS?
Yes. It works with the classic cart and checkout, the Cart and Checkout blocks, and high-performance order storage (HPOS).