In short: WooCommerce checkout optimization means taking out everything between “add to cart” and “order placed” that makes a shopper stop. First measure where they drop off. Then fix the cart (keep shoppers on the page, show shipping early, one clear button), the checkout (guest checkout, fewer fields, express payments, no surprise costs), the speed of both and how they work on a phone. Most fixes are WooCommerce settings, not projects. A side cart like Nanflows Sliding Cart keeps the cart one tap away, for free.
About 7 in 10 online carts never become orders, by the Baymard Institute’s long-running average. You can’t win them all back, but every step you remove from your checkout is a step fewer shoppers can drop off at. This guide is for store owners: each fix says where the setting is and what to check.
Start by finding where shoppers drop off
Before changing anything, count how many shoppers reach each step. You need four numbers for the last 30 days:
- Visits to product pages.
- Add to carts.
- Checkouts started.
- Orders.
WooCommerce shows orders under Analytics, but not the steps before them. Google Analytics 4 with an ecommerce plugin records the others as add_to_cart, begin_checkout and purchase events. Divide each number by the one before it, and compare each step with the same step last month. The steps after add to cart matter most: those shoppers already chose a product, so each one lost there is a sale you nearly had.
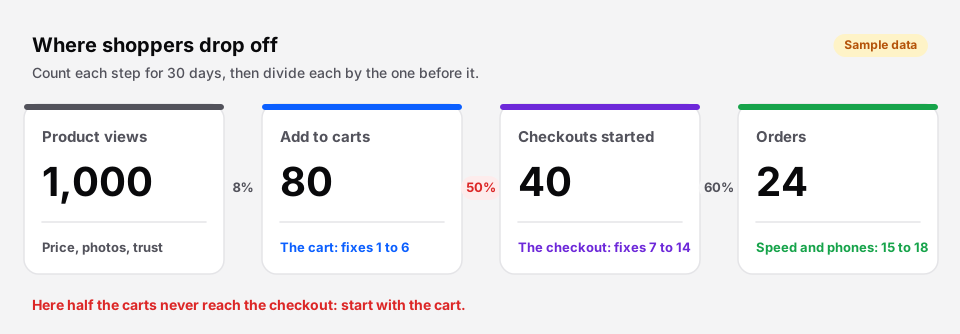 Sample numbers. Here, half the carts never reach checkout, so the cart is the first place to look.
As a rough guide:
- Few add to carts: a product page problem (price, photos, trust), not a checkout one.
- Many carts, few checkouts started: the cart is in the way. Start with fixes 1 to 6.
- Many checkouts started, few orders: the checkout is in the way. Start with fixes 7 to 14.
The cart: 6 fixes
1. Keep shoppers on the page when they add to cart
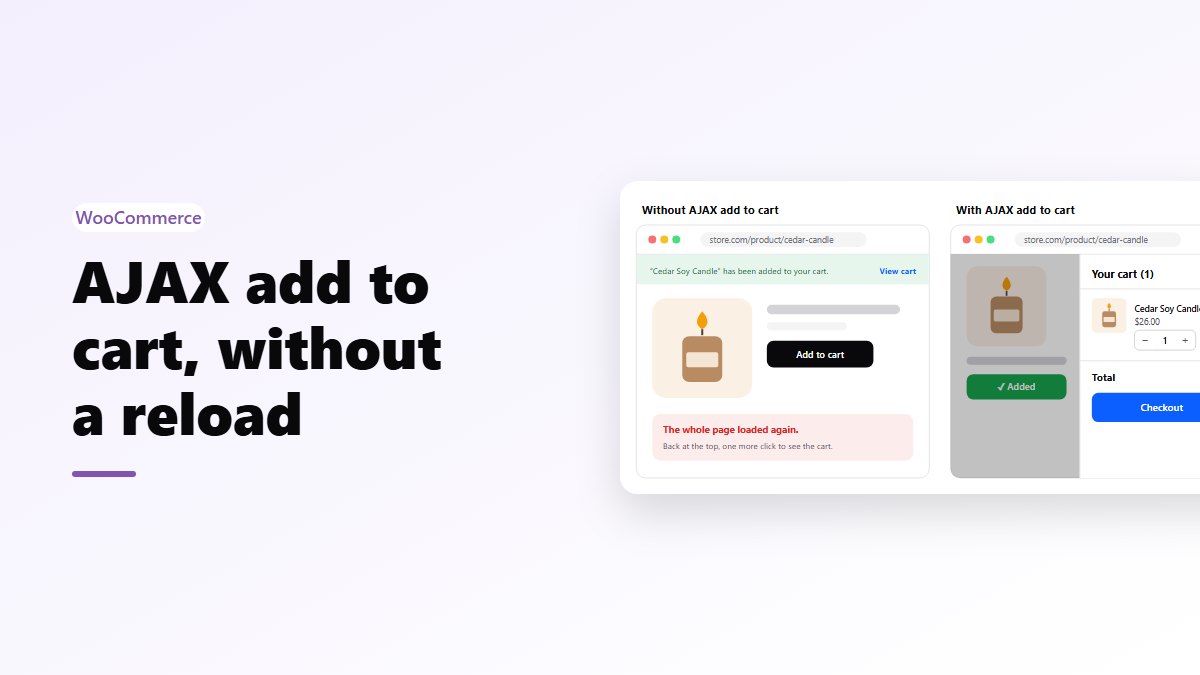
By default, a WooCommerce product page reloads after add to cart, and the shopper lands back at the top of the page with a notice. Turn on add to cart without a reload (how AJAX add to cart works), and open a side cart so they see what they added and can keep shopping or go straight to checkout. More in how to add a side cart.
2. Show shipping costs before checkout
Surprise costs are the most common reason shoppers give for leaving. Two settings help, under WooCommerce → Settings → Shipping → Shipping options:
- Tick Enable the shipping calculator on the cart page, so shoppers can see the cost for their address.
- Leave Hide shipping costs until an address is entered unticked if you have flat rates, so the cost shows straight away.
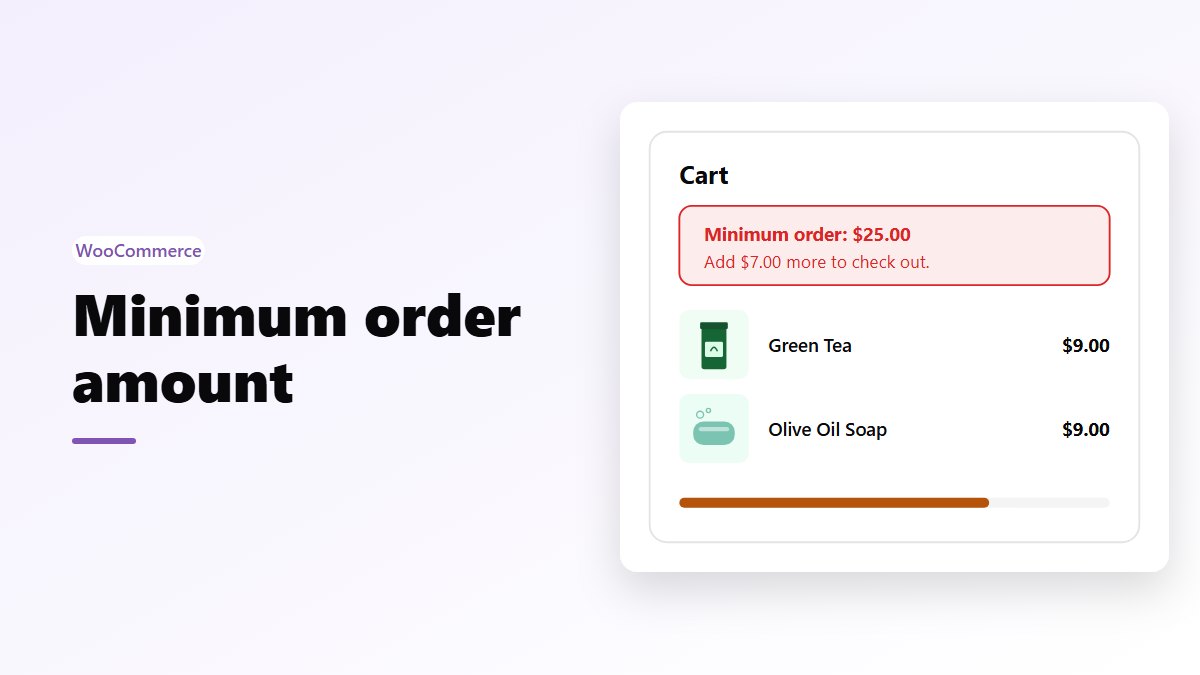
If you offer free shipping above an amount, show how much is left in the cart. A free shipping bar does that and raises the order value at the same time.
3. Let shoppers change the cart where they are
Quantity buttons, a remove link and the product photo should be in the cart itself, on every screen size. A shopper who has to go back to the product page to change a size often doesn’t come back.
4. Keep the coupon field small
A big empty “Coupon code” box sends shoppers off to search for codes, and some never return. The Cart and Checkout blocks already fold it into an “Add coupons” link. If you don’t use coupons at all, untick Enable the use of coupon codes under WooCommerce → Settings → General, and the field disappears.
5. One suggestion, not a shelf
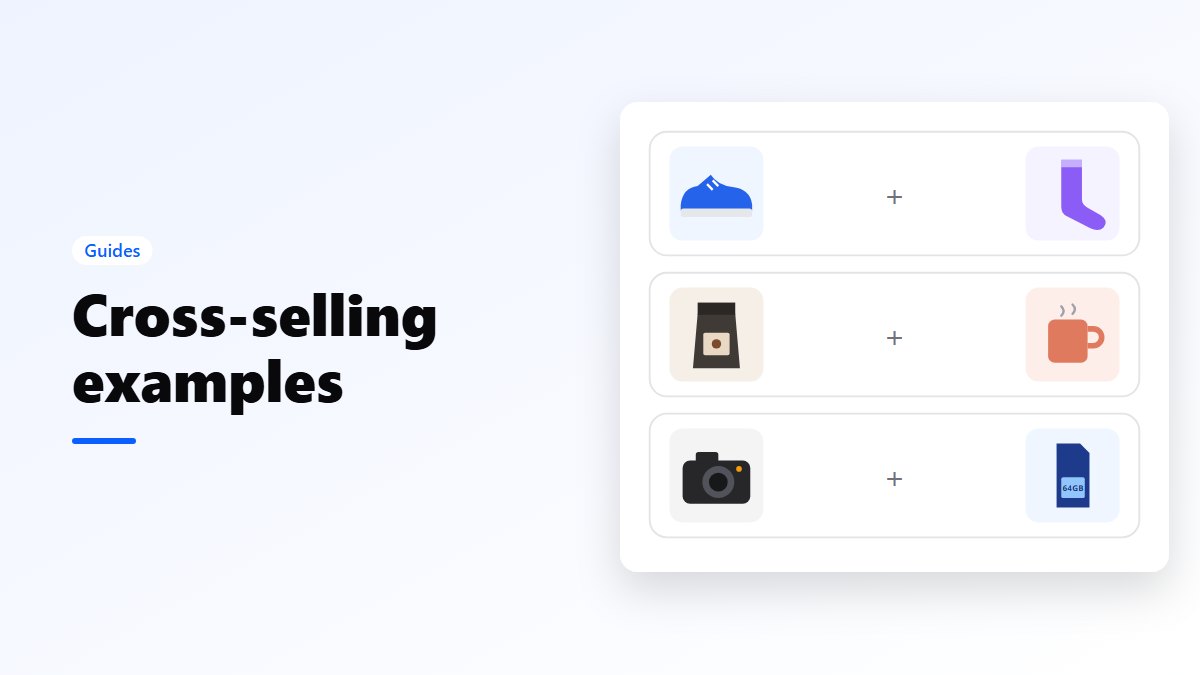
One or two add-ons that go with the cart, like socks with shoes, raise the order without slowing anyone down. A row of six makes shoppers stop and compare. See cart upsells and cross-selling examples.
6. One clear checkout button, with express buttons next to it
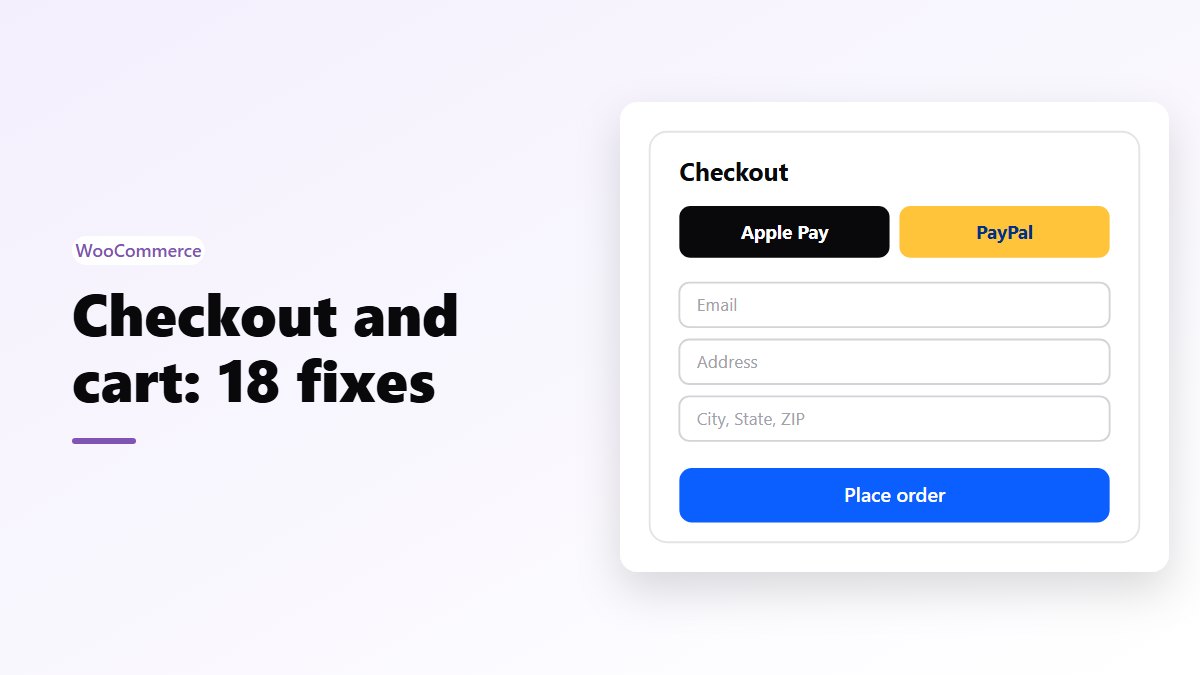
The checkout button should be the biggest thing in the cart, and the same color everywhere. If your payment plugin offers Apple Pay, Google Pay or PayPal buttons in the cart, show them there too: a shopper with a saved card can skip the checkout form entirely.
The checkout: 8 fixes
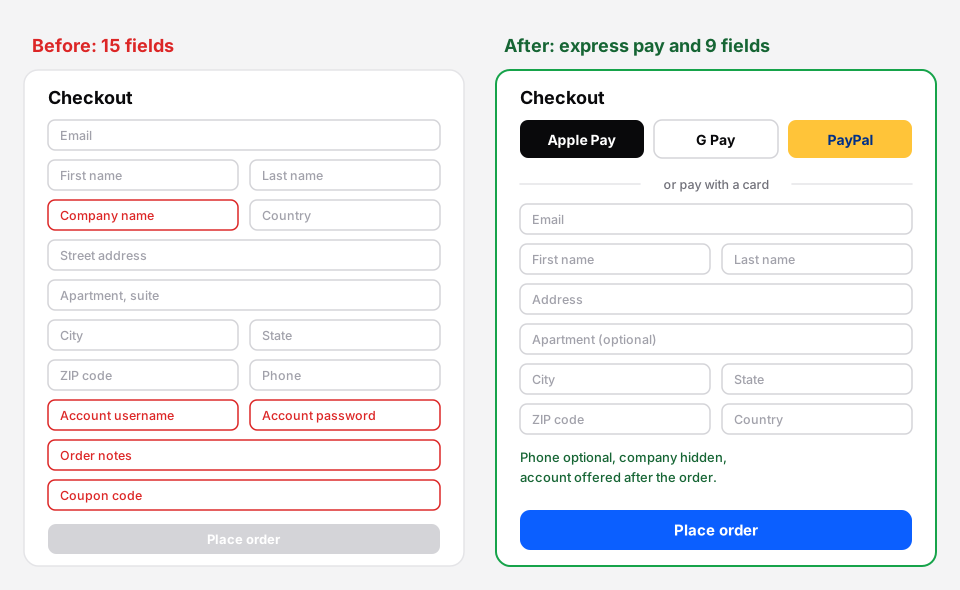 The same store before and after: express buttons on top, and only the fields the order needs.
7. Turn on guest checkout
Making shoppers create an account before they pay is one of the most common reasons for leaving. In WooCommerce → Settings → Accounts & Privacy, tick Enable guest checkout (recommended).
8. Offer an account after the order, not before
In the same place, tick Enable log-in during checkout so returning customers can sign in if they want. With guest checkout on, you can also tick After checkout (recommended) under Account creation: the shopper places the order first, then is offered an account on the order confirmation page, with the details they just typed.
9. Cut the fields to what the order needs
Every field is one more thing to type on a phone. WooCommerce lets you hide or make optional three of them:
- Company name: hidden, unless you sell to businesses.
- Address line 2: optional.
- Phone: optional, unless your carrier needs it for delivery.
With the Checkout block, select the block in the page editor and set these in its settings on the right. With the classic checkout, they are under Appearance → Customize → WooCommerce → Checkout. Both save to the same settings.
10. Add express payments
Apple Pay, Google Pay and PayPal fill in the address and card in one tap, which matters most on phones. Most payment plugins for WooCommerce can show these buttons at the top of the checkout. Turn them on in your payment plugin’s settings, then check they appear on an iPhone and on an Android phone.
11. Offer the payment methods your buyers use
Not more, the right ones. A card option and one wallet cover most US shoppers. If you sell in a country where buyers prefer cash on delivery or bank transfer, offer that, and put the most used method first.
12. No surprises in the total
The total at checkout should be what the shopper expected from the cart. Name your shipping options so they say what they are (“Standard, 3 to 5 business days”), show tax the same way in the cart and at checkout, and don’t add fees on the last step.
13. Clear error messages next to the field
A form that only says “There was an error” at the top makes shoppers hunt for it. The Checkout block shows each error under its own field. If you use the classic checkout, place a test order with a wrong ZIP code and see what the shopper sees.
14. Show it’s safe, and nothing else
Near the place order button: your returns policy in one line, how to contact you, and the accepted card logos. Remove what pulls shoppers away: pop-ups, chat bubbles that cover the button, and big menus. Many themes have a simpler header for the checkout page.
Speed and phones: 4 fixes
15. Keep the cart and checkout out of the page cache
Cart, checkout and My account must never be cached, or shoppers see other people’s carts or wrong totals. Most caching plugins and hosts leave these pages out by themselves; check your cache settings list them.
16. Make add to cart fast
If add to cart takes two seconds or more, shoppers click again or leave. The usual causes are slow hosting, too many plugins on every page and cart fragments. The fixes are in why WooCommerce add to cart is slow.
17. Load less on the checkout
Sliders, review widgets and chat scripts don’t need to load on the checkout page. Ask your developer, or use a plugin that turns scripts off per page, and keep only what the order needs.
18. Test it on a phone, for real
Once a month, place a real order on your own phone, with mobile data instead of Wi-Fi:
- Does autofill fill in the name, address and email?
- Do the number fields open a number keyboard?
- Can you reach the place order button with a thumb, without a pop-up covering it?
Then refund the order.
Checkout block or classic checkout?
New WooCommerce stores get the Cart and Checkout blocks by default. Older stores often still use the classic shortcode pages.
| Checkout block | Classic checkout | |
|---|---|---|
| Express payments on top | Yes, with supported payment plugins | Depends on the payment plugin |
| Errors next to each field | Yes | Mostly at the top |
| Coupon field | Folded into a link | A box, shown by your theme |
| Hide Company, Address line 2, Phone | In the block’s settings | In the Customizer |
| Old checkout plugins and custom code | Some don’t work | Works |
If your checkout uses plugins or code written for the classic checkout, test them on a staging copy before you switch.
A 30-minute checkout audit
| Check | Where | Good |
|---|---|---|
| Guest checkout | Settings → Accounts & Privacy | On |
| Account creation | Settings → Accounts & Privacy | After checkout, not before |
| Shipping on the cart | Settings → Shipping → Shipping options | Shown before checkout |
| Fields | Checkout block settings or Customizer | Company hidden, Address line 2 and Phone optional |
| Express payments | Your payment plugin | On, tested on two phones |
| Add to cart | A product page | Under 1 second, no reload |
| Cache | Your caching plugin | Cart, checkout and My account left out |
| Test order | Your phone | Done this month |
Measure the change
Change one thing at a time, and compare the two weeks after with the two weeks before: checkouts started ÷ carts, and orders ÷ checkouts started. Leave out sale weeks like Black Friday, which change everything at once. For shoppers who leave anyway, see how to reduce cart abandonment and abandoned cart emails.
Tools for the cart and checkout
- The cart: Nanflows Sliding Cart on WordPress.org is free: a side cart that opens on add to cart without a reload, with quantities, the coupon field, express checkout buttons and a checkout button inside it. Nanflows Sliding Cart Pro adds a free shipping and rewards bar, cart upsells, a one-click add-on and cart analytics, $39 a year for one site.
- Catching shoppers before they leave: Nanflows Popup Pro has exit intent and targeting by cart value, so a shopper leaving a full cart can get one reminder. The free Nanflows Popup has countdowns and email sign-ups.
- More: WooCommerce side cart and cart upsells.
FAQ
How do I optimize the WooCommerce checkout?
Turn on guest checkout, hide the fields the order doesn’t need, add express payments like Apple Pay and Google Pay, show shipping costs before the checkout, and keep the checkout page out of your cache. Then place a test order on a phone.
How do I reduce WooCommerce checkout fields?
With the Checkout block, select it in the page editor and set Company, Apartment and Phone to hidden or optional in its settings. With the classic checkout, the same choices are under Appearance, Customize, WooCommerce, Checkout. For other fields you need a plugin or code.
Should I use the WooCommerce Checkout block?
For most stores, yes: it shows errors next to each field, folds the coupon field away and supports express payments on top. If your checkout depends on plugins or code made for the classic checkout, test on a staging copy first.
How do I enable guest checkout in WooCommerce?
Go to WooCommerce, Settings, Accounts & Privacy, and tick Enable guest checkout. Tick Enable log-in during checkout too, so returning customers can still sign in.
Does a side cart help conversions?
It keeps shoppers on the product page after add to cart, shows what they added and puts the checkout button one tap away. That removes a page load and a decision from the path to checkout, which is where many carts are lost.