Help center › Get started
Get started with Nanflows Product Bundles
Set up the plugin in a few minutes: install it, answer two questions in the setup wizard, and create your first bundle.
-
Install WooCommerce first
Nanflows Product Bundles works inside WooCommerce: bundles are made of your WooCommerce products, and go through your normal cart and checkout. If your shop already runs on WooCommerce, go to the next step.
-
Install the plugin
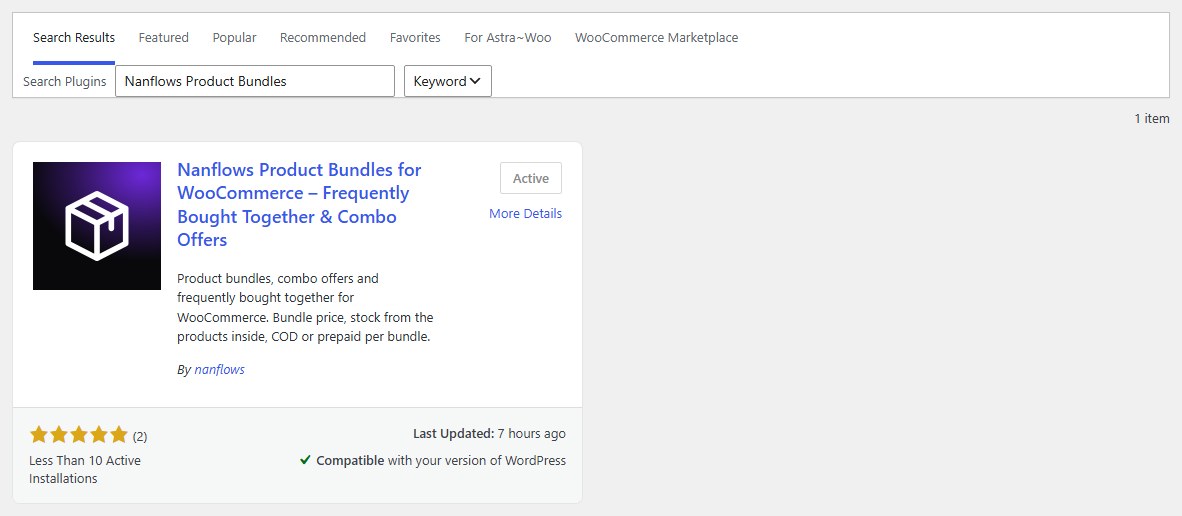
In WordPress, go to Plugins → Add New Plugin and search for Nanflows Product Bundles. Click Install Now, then Activate. The plugin is free, with no limit on how many bundles you make.
-
Answer the setup wizard
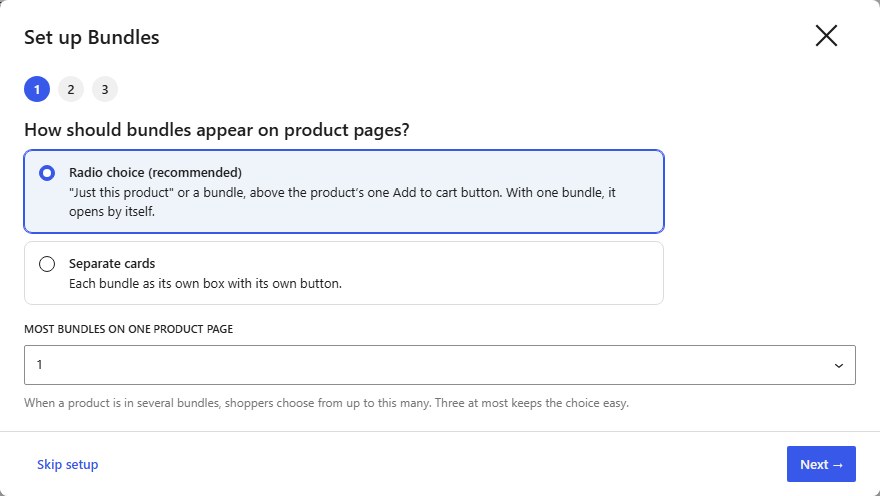
Open Bundles in the left menu. A short wizard asks how bundles should appear on product pages: Radio choice (recommended: shoppers pick “Just this product” or a bundle, above one Add to cart button) or Separate cards (each bundle in its own box with its own button). It then asks how many bundles one product page can offer, your icon style, and whether new bundles go live when published or wait as drafts. You can change all of it later in Settings.
Tip Not sure? Keep the suggested answers and click Next. Skip setup keeps the defaults.
-
Find your way around
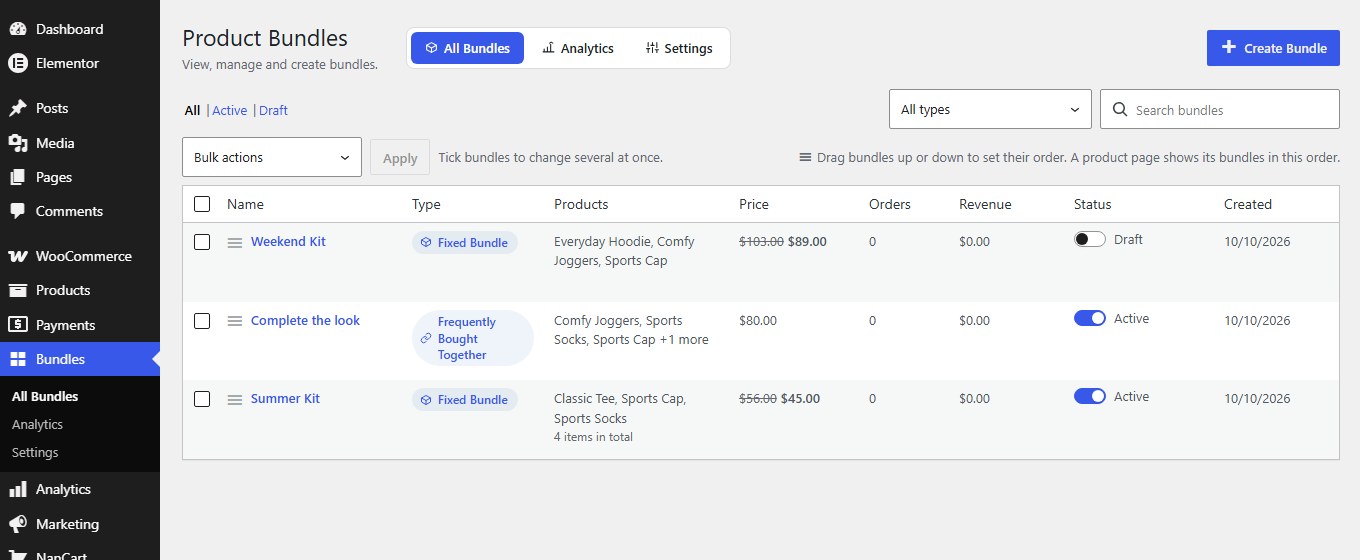
Everything is under Bundles: All Bundles (create and edit), Analytics (bundle sales) and Settings. The same three are the buttons at the top of each Bundles screen. With Pro installed, a Pro licence page appears too.
-
Create your first bundle
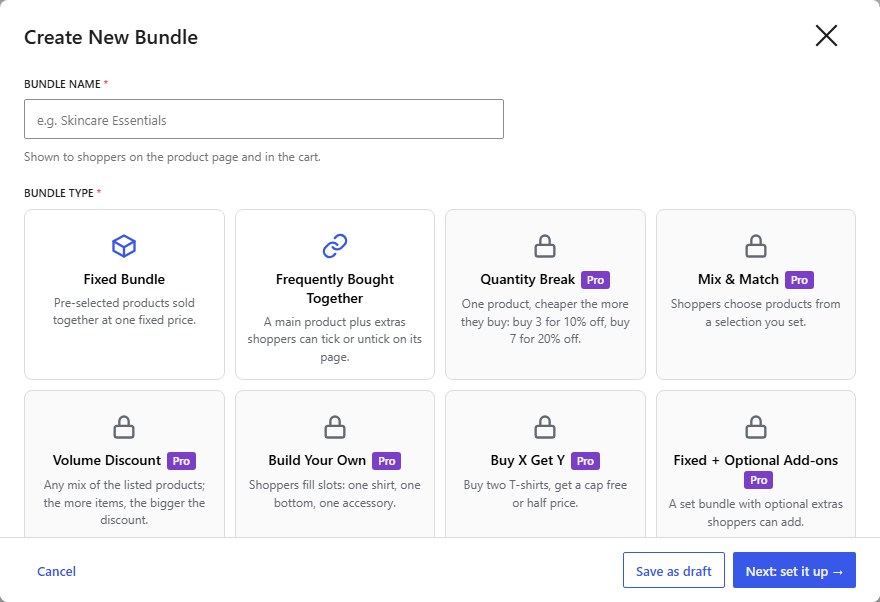
Click Create Bundle. A popup asks for the name, the kind of bundle and where it shows; the editor then takes you through six short steps, with a live preview. Follow Create your first bundle for every field explained.
-
Want more kinds of bundle? (optional)
The free plugin has Fixed bundles and Frequently bought together. Nanflows Bundles Pro adds eight more kinds, percentage and amount discounts, dates and limits, badges and countdowns, suggestions from your orders, and more reports. See Bundles Pro: install and licence.
Nanflows Bundles · Need help? support@nanflows.com