Help center › Bundle settings
Name, text and picture
Step 3 of the editor: the bundle’s name, descriptions, picture and SKU, and the heading or banner at the top of its own page. The preview shows every change.
-
Name and descriptions
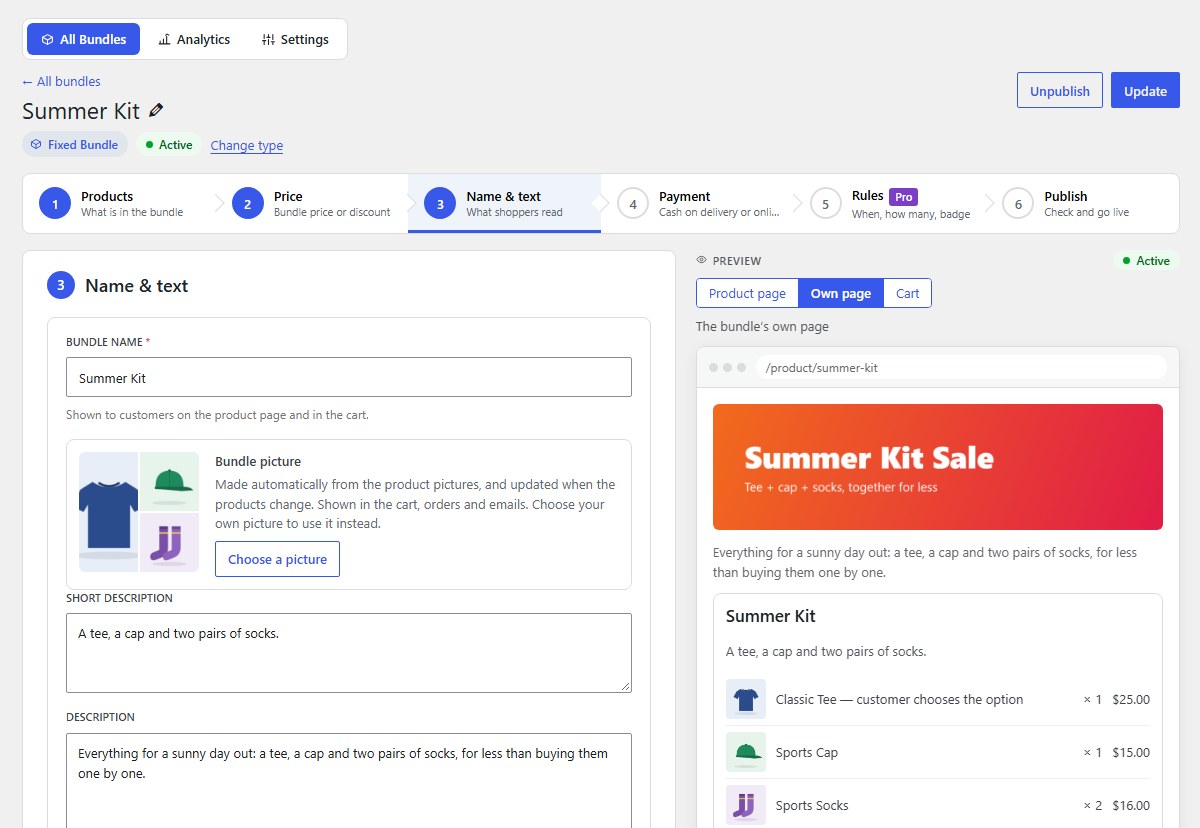
Bundle name is shown on the product page and in the cart. The Short description shows under the bundle’s name on product pages; the Description shows on the bundle’s own page.
-
The bundle picture
Until you choose one, the bundle gets a picture made from up to four of its products’ pictures, and it is made again when those pictures change. It is shown in the cart, orders and emails. Click Choose a picture to use your own from the Media Library; Use the automatic picture goes back.
-
SKU (optional)
Your own product code for the bundle. No other product can use the same code. In Settings → General, a Bundle SKU prefix gives bundles without a SKU an automatic one, like BND-120.
-
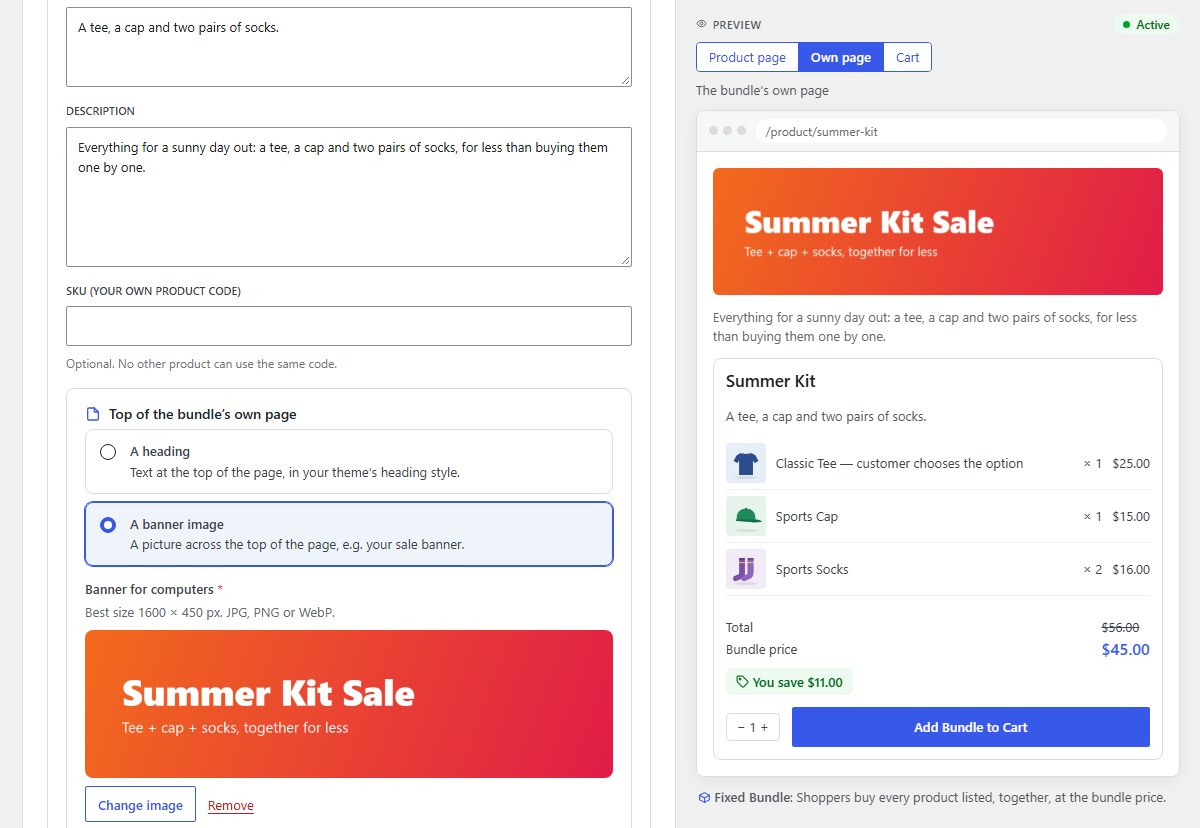
Top of the bundle’s own page: a banner
Choose A banner image and upload the Banner for computers (best 1600 × 450 px, JPG, PNG or WebP). Add a Banner for phones (best 400 × 200 px) if you like; without it phones show the computer banner.
-
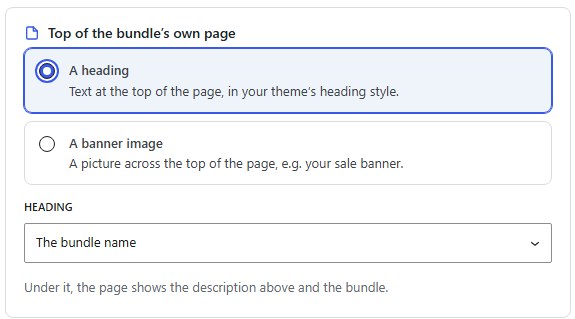
Or a heading
Choose A heading, then The bundle name, My own heading or No heading. It uses your theme’s heading style.
-
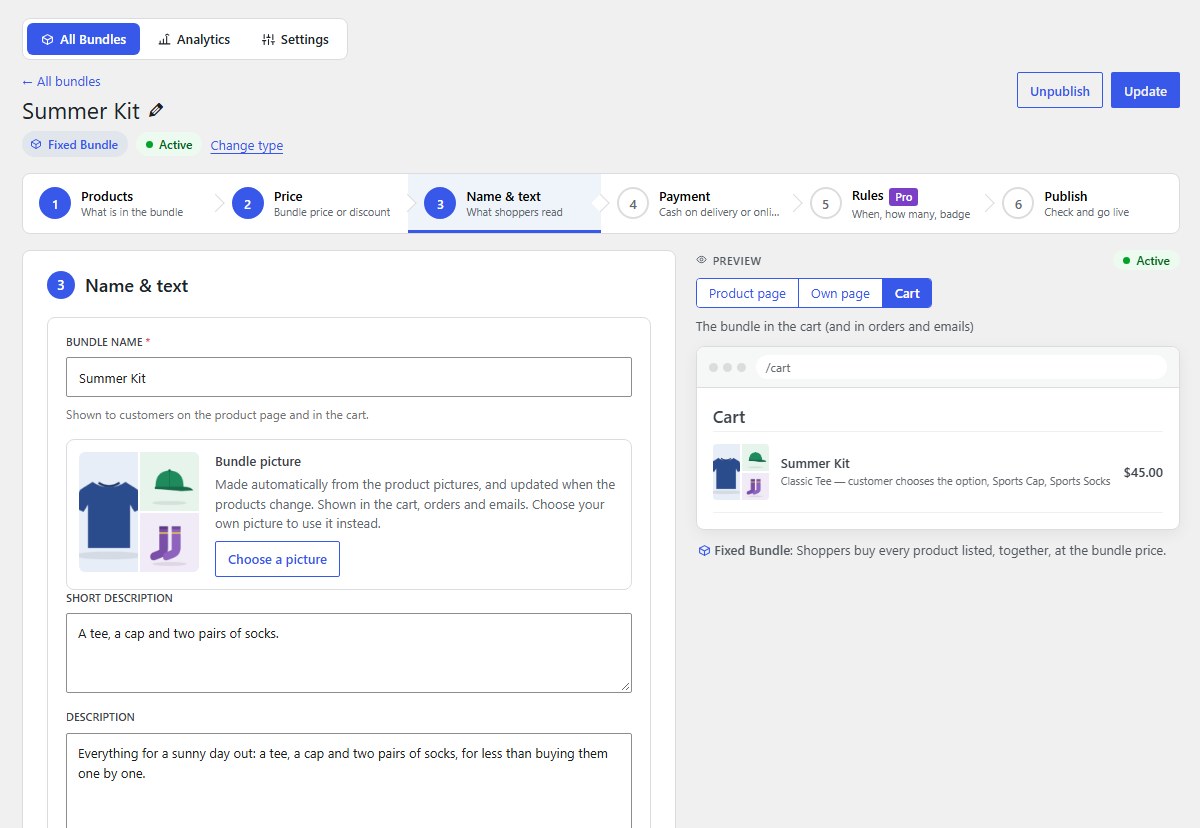
Preview the product page, own page and cart
Above the preview, switch between Product page, Own page and Cart to check each place the bundle appears.
-
Colours and fonts follow your theme
The bundle box uses your theme’s fonts, colours and buttons, so it fits your shop without design work. Its button text, savings and regular price can be changed for all bundles in Settings → Product Page.
Nanflows Bundles · Need help? support@nanflows.com